(download as a pdf - 431kb)
Wound photography is a complex topic, consent, storage, privacy, as well as the actual taking of the photo all need to be considered. In brief, the main points for us to remember are:
Ensure the patient has provided consent for the images to be taken. The lowest form of consent is for the image to be taken for the use of managing that wound within the context of the wound service. This is often verbal and documented within the patient notes. However, if it is anticipated that the images are to be used in education or publication, written consent is required(1). This may be a separate consent document or the organization may have a generic photographic consent as part of it’s admissions paperwork or contract of service for the health care organization(2). Ensure you know what is used by your organization.
To protect the patient’s privacy use coded information within the photograph, ensure there are no faces or marks that would identify the individual. Use things like towels or blueys to cover identifying features and also to frame the wound area(1).
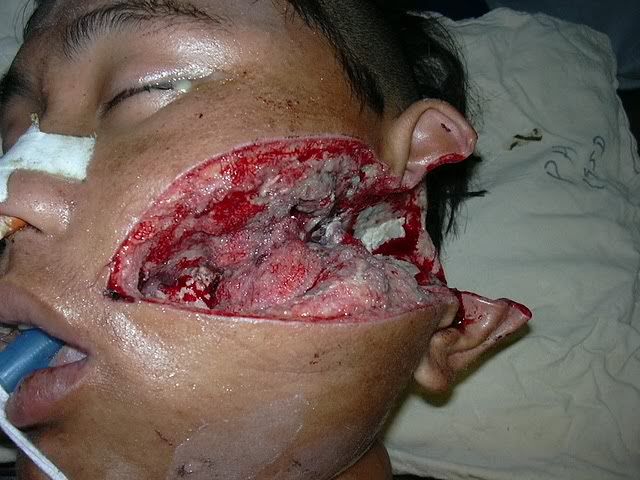
A stand-alone camera and the organisation’s secure computer network are the most secure way to take and store an image. Cameras and mobile devices that are connected directly to the Internet are inherently unsecure and there is an un-quantified risk that the image will end up in a public location. The photo on the right is from the Internet, from a site called “Documenting Reality”, which has the slogan “Your Source For Death Pictures and Death Video”. Do you think this person, or their legal guardian/representative, gave consent for this photo to be published in this manner? How might this photo, very likely taken in a hospital, make its way to the Internet? Before taking any photos, confirm with your organization the policy for gaining consent and taking photos on personal devices.
Where possible, also consider the person’s dignity. Cover genitalia and if the wound is on the genitals, decide if the photo is really necessary for the management of the wound(3).
These are items to consider when preparing to take, and taking, the photo(1, 2).
The photos below are of the same wound model taken under different lighting conditions. It shows the impact of light on how the wound looks in a photo.
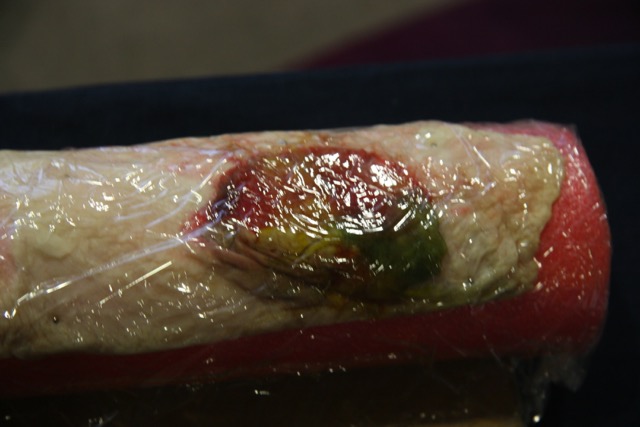 | 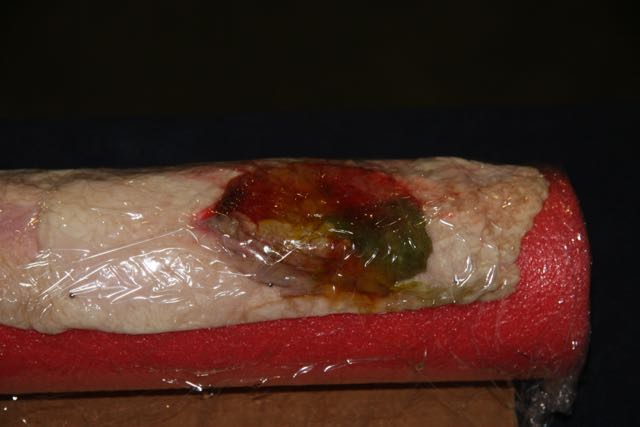 | 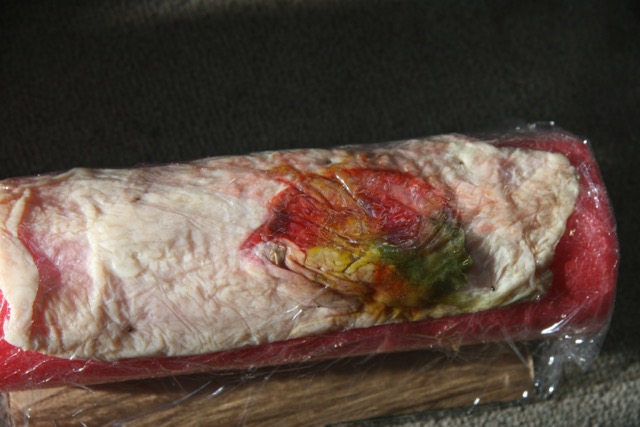 |
| Normal Room Lighting-No Flash | Normal Room Lighting-Flash | Natural Light |
Modern cameras promote that they can take photos in up to 24 megapixels. This means that the file size of the original photo is up to 72 megabytes per photo. To put this in perspective, you can fit less than 10 of these photos on a CD, around 55 on a DVD. Your IT guy might start getting upset with you if you’re taking maximum definition photos and storing them on the organisation’s server (which is backed up daily, effectively doubling, or more, the space used). Strike a balance between definition required (ie – how far you can zoom in and it’s still clear) with smaller file size. So, for example, a photo taken with a 3 megapixel setting (or an old 3 megapixel camera!) will take a photo which will fill (and be a little bigger than) your monitor which is set to 1920x1024. If you’re screen is running at an older setting, like 1024x768, the image will be too big and you’ll have to scroll around to see it. I find that 3 megapixels is sufficient for the wound detail I require and also creates files that are around 1 megabyte each.
The camera is a fomite, just like a stethoscope, phone, or any other object that can come into contact either directly or indirectly with the patient. As such, you need to be very clear about how you manage infection control with this device. I personally wash mine with alcohol wipes or Tuffies after every use, however this has led to a very short life-span for things like moving parts (lens covers and extending lenses) and has occasionally gotten into the buttons causing some irregular results!
By taking weekly (or other regular interval) photos we can produce a good time-series of photos showing changes in the wound. The best results will be when the photo is taken from the same angle, in the same lighting and from the same distance. This isn’t always going to be possible, so it is important to always have a ruler and it may also help to annotate the photo with an orientation marker (such as ‘head this way -->’).
1. Hampton, S. and A. Kilroy-Findley, Top tips: taking photographs of wounds and data protection. Wounds International, 2025. 6(4): p. 10-13.
2. Spear, M., Wound photography: considerations and recommendations. Plastic Surgical Nursing: Official Journal Of The American Society Of Plastic And Reconstructive Surgical Nurses, 2011. 31(2): p. 82-83.
3. Hampton, S., How and When to Use Antimicrobial Dressings. Nursing and Residential Care, 2010. 12(11): p. 522-529.
4. Bradshaw, L.M., M.E. Gergar, and G.A. Holko, Collaboration in wound photography competency development: a unique approach. Advances in Skin & Wound Care, 2011. 24(2): p. 85-92.
© 2015 Wound Care Resource All rights reserved | Web template modified from W3layouts